Tuesday, September 17, 2013

White Stripes in the Bedroom

I was shuffling through old photographs today, 
and realized that I never shared the "before" and "after" photos 
of my parents' guest bedroom!


The room used to look like this...
(Boring!)


I really, REALLY wanted to paint stripes on the wall.
So, I found inspiration by looking at several design websites.


I love the white/light tan combination.


It was quite simple painting the stripes on the wall.
The room was already painted a "light tan" color - so I only needed to paint the white stripes.
We bought one gallon of white paint - and LOTS of Frog Tape!
It is FANTASTIC for painting lines.
(I recommend using it over the blue Painters Tape.)


We held a level up on the wall... got a pencil... and slowly made our way around the room... 
forming STRAIGHT LINES with light pencil markings.

Then, we placed the Frog Tape along the pencil markings.
We painted in between the tape, and were left with these awesome stripes!


We wanted the stripes to be different sizes.
(The larger one goes behind the bed.)


Speaking of the bed...
Our color theme for the room was: 
White, Tan, Gray and Yellow.

We also played up different patterns - with one common shape:
CIRCLES!


The circles on the pillow actually inspired the artwork for the wall.


To find out how I made these DIY art pieces - just click here.


I also hung these metal circles on the wall too.
I found them at Target - on clearance!
They were in the "kitchen section" of the store... 
(so I'm not really sure what they're "supposed" to be used for.)
But, I like them as artwork!


I decided to hang them above my grandmother's cedar chest.


Some people tend to use the cedar chest as a "bench"...
so I made a cushion out of this gray/white fabric I found at Hobby Lobby. 


This yellow pillow was one example of the "pops" of yellow we had in the room.


Speaking of my grandmother's furniture...
this mirror/dresser combo was also my grandmother's.
It's a GORGEOUS piece of furniture.
And, the "circle mirror" fits in perfectly with the room!


All in all, we spent about $200 to upgrade the room.
The money went to:
Paint, curtains, pillows, a duvet cover and artwork supplies.

(The headboard and side table were furniture pieces that my parents already had.)

BEFORE


AFTER


Wednesday, September 4, 2013

Put a Rail on It

It's no Beyonce... but it sure is pretty!
Thanks to this brand new rail, our front porch makeover is almost complete.


You may remember last week, when I posted our DIY Retaining Wall and Landscaping project.
We took our boring front yard... 


... and transformed it from THIS:


To THIS!


But, even after installing the two retaining walls and landscaping... we weren't quite finished!


We wanted to add new columns and railings.


First up... the columns.
We purchased two QuickWrap kits from Menards.
It's a PVC column wrap - sold at most hardware stores - and comes with instructions.
You can install the wrap around existing columns.


First...
We removed the OLD column wraps from the porch.
(We just used a screw driver and popped out the old screws.)


After the column wraps were removed, the existing wooden poles remained.


Next...
Since we planned on attaching railings...
we needed to add some lumber blocks to the existing wooden poles.  
Otherwise, the NEW railings wouldn't be able to screw into anything.


My dad attached the lumber blocks to the places where he knew he'd screw in the railings.


Once the lumber blocks were in place...
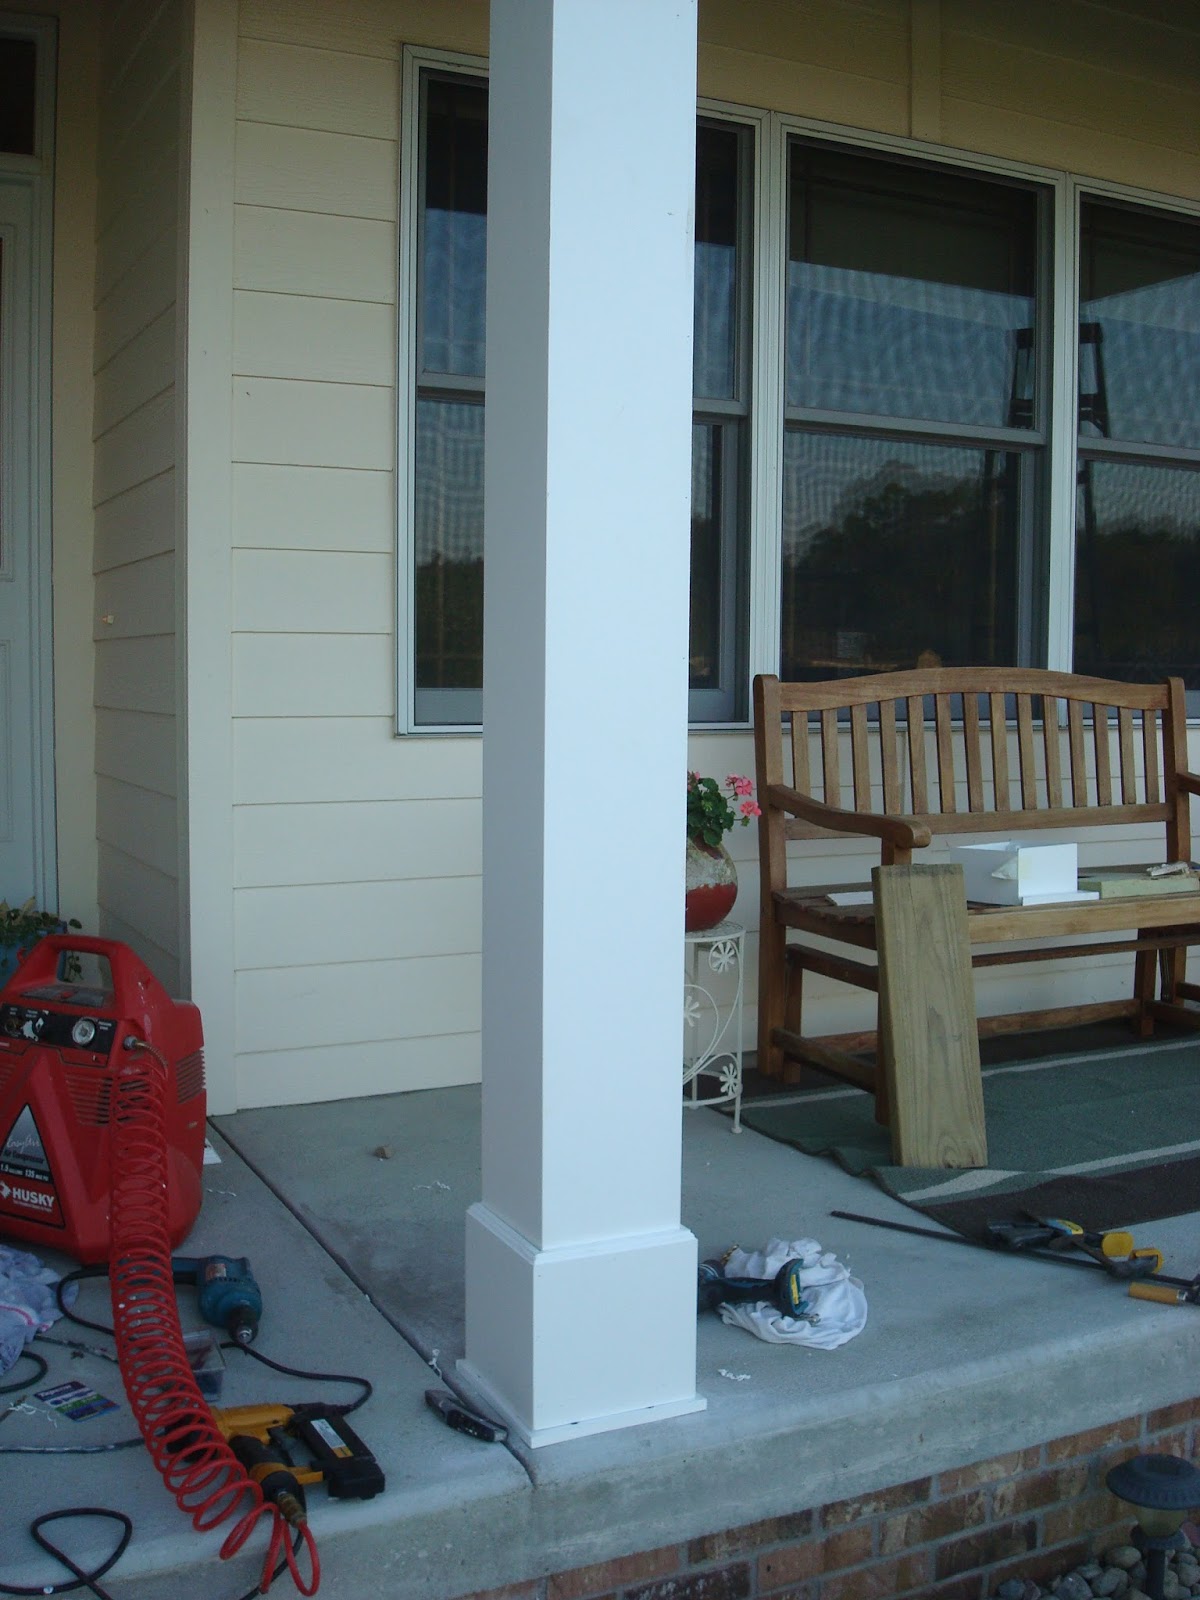
We attached the base of the new wrap to the bottom of the existing poles.


See the white base at the bottom?
It's secured to the concrete floor with concrete screws.


Then...
It's time to cut your NEW wrap covers to height.
(We used a skill saw for this.)


Once the wrap covers are cut, you need to apply an adhesive to the corner seams...
and then set them in place around the existing poles.
(The adhesive comes with the QuickWrap kit -- and so do instructions.)


Once the new wrap is in place...
You'll need to secure the TOP piece of trim to your wrap.
My dad used adhesive and a Brad Nailer for this.


The transformation is amazing.


Then...
It's time to attach the railings!


We used a QuickRail kit that we purchased at Menards.
My dad trimmed them to size using his Compound Miter Saw.


Then, he attached the railings to the new poles with screws. 


REMEMBER - the poles are attached in the same areas where the lumber blocks were installed.


He also attached the railings to the side of the house 
using the screws that came with the QuickRail kit.


Finally...
You can spackle any holes in the new posts -- and paint!
(We kept ours white.)


And... tada!!!!
Done!


Looks pretty fantastic.


BEGINNING


MIDDLE


END


What do you think?


We LOVE it.
The railings add such a bold statement to the front of the house!


Over all, it was pretty easy to do.
We just followed the instructions that came with the QuickWrap and QuickRail kits.


Now we can sit back... and enjoy the view.