Saturday, July 6, 2013

The BEST Crock-Pot Tacos... (Seriously, they are AMAZING!)

I stumbled across this simple, delicious recipe in California.
(Little did I know) - the recipe is originally from Iowa!
Let me explain...


My cousin (Melissa) made these "Crock-Pot Tacos" for her son's birthday party.


The tacos were a HUGE hit.
Everyone kept asking Melissa for the recipe.
Turns out...
The recipe is from Melissa's friend (Susie) - who got the recipe from her mom.
Melissa stayed true to the recipe - but added a few twists of her own too.


Ingredients
1 (one) 4 oz. can of green chilies
2 lb. chuck roast 
2 cloves garlic
1 Tablespoon salt
1 teaspoon vinegar
1-2 cans pinto beans (just depends how much you like beans)
1/2 cup chopped onion
2 Tablespoons chili powder
1 teaspoon cumin

Flour tortillas
Diced cabbage
Diced tomatoes
Shredded cheese
Avocados

First...
Place the roast inside a Crock-Pot.


Then...
Sprinkle the ground cumin, chili powder and salt on top of the roast.
(I add 1 teaspoon of cracked black pepper too.)


Add 2 cloves of diced garlic...


... and 1/2 cup of chopped onions.


Pour 1 teaspoon of vinegar on top of the roast.


Add the green chilies and pinto beans.


Then...
Cook the roast on low heat for 8 hours.


When the roast is done, shred it with a fork...
and place the meat BACK inside the Crock-Pot.


Let the meat cook for another 5-10 minutes.
(This brings all the flavors together.)


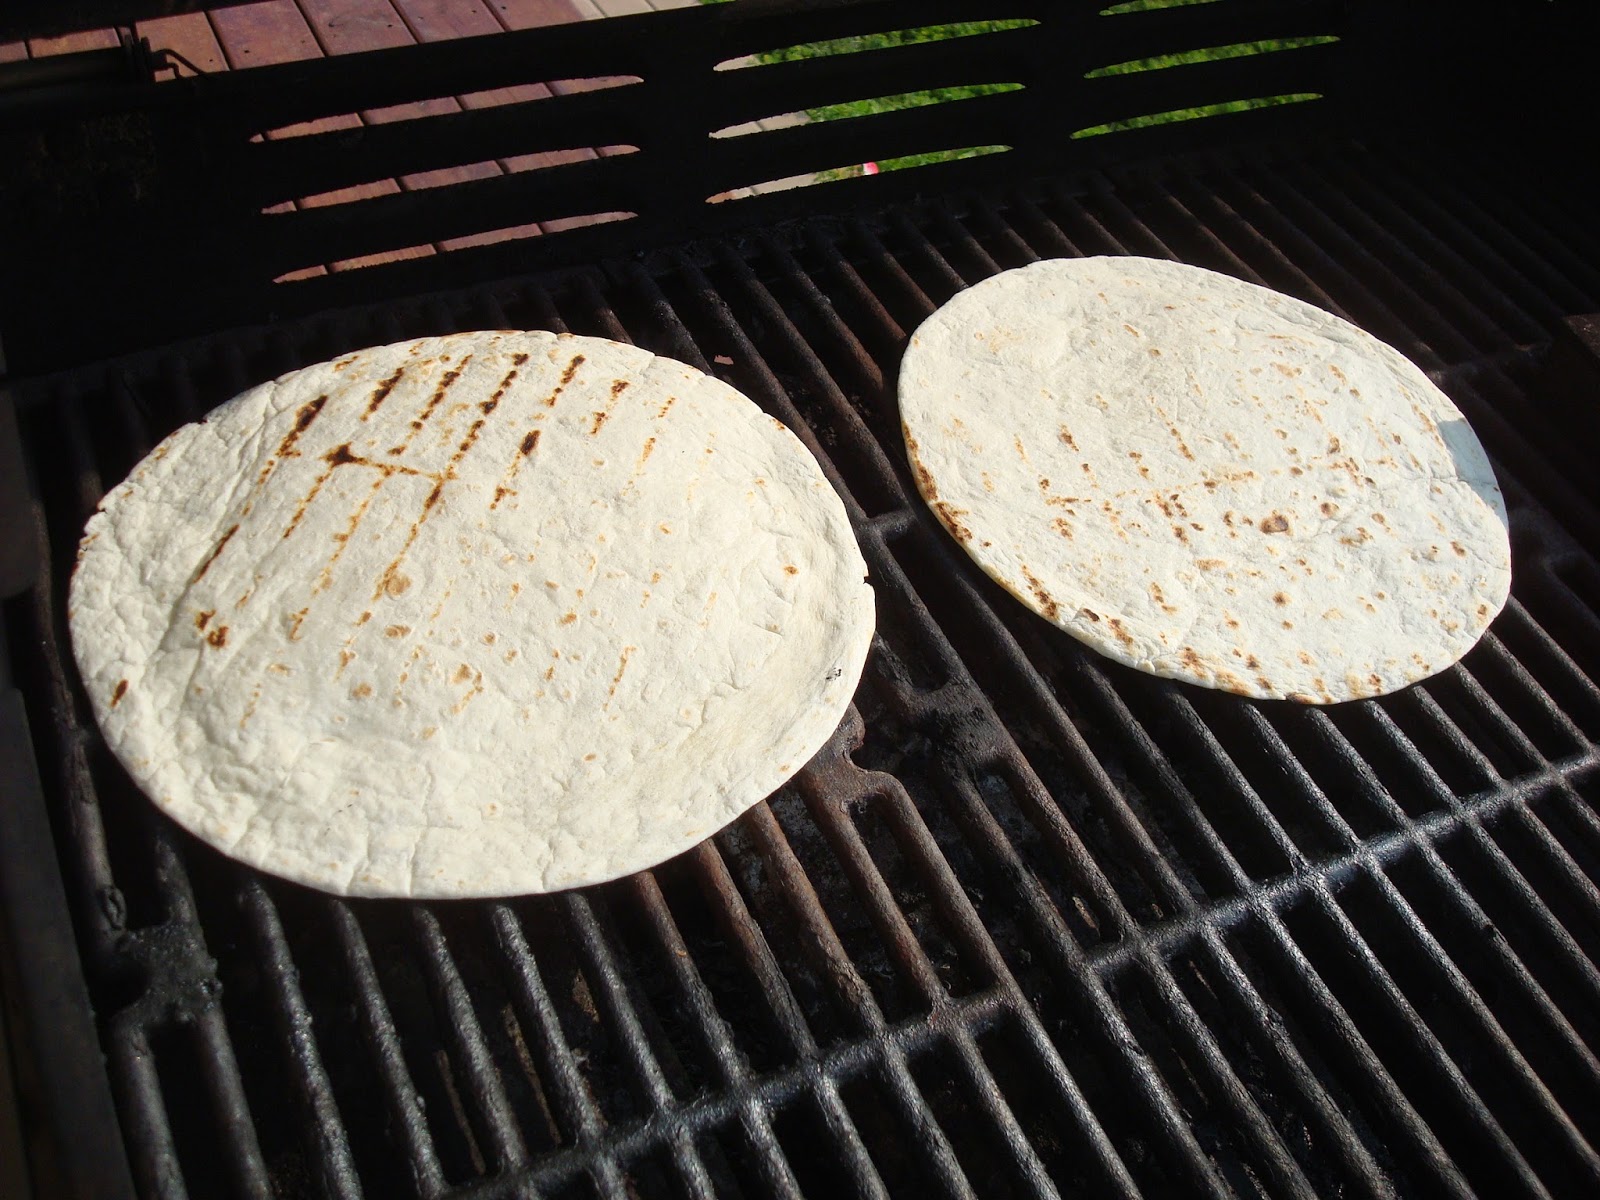
Throw some flour tortillas on the grill.
They only need 1-2 minutes on each side.

Shred CABBAGE... (yup - cabbage)... NOT lettuce!
The cabbage adds this awesome "crunchiness" to the taco.
It's WAY better than lettuce.


Dice tomatoes.


Finally...
Start a little "assembly line" for the tacos.
Meat, cheese, tomatoes, cabbage and diced avocados.


The end result is freaking awesome.


These tacos are PACKED with SO MUCH flavor.


But, my favorite part is HOW EASY they are to make!


Plus...
They pair PERFECTLY with my homemade margaritas.


Dig in and drink up!


Thursday, June 27, 2013

Take a Look at Me Nowwwww!!!!!

No, I'm not talking about the Phil Collins song...


... I'm talking about my parents' master bedroom.


You may remember a few months ago, 
when my dad and I built a custom headboard for my parents' room.


The headboard turned out great - and so did the rest of the room!
But, we were missing ONE tiny thing...
a decorative mirror above the bed.


Well, three months later...
TADA!
We found one.


It's a rustic, gorgeous shade of gray.


The mirror was $59.99 at Garden Ridge.


It makes a difference in the room.
Take a look at it now!

BEFORE

AFTER

What do you think?
Was the mirror a good choice?


Monday, June 24, 2013

Rustic Necklace Holder

I have about 530 million necklaces.
Okay, maybe just 30... but it feels like 530 million!

 When I left Green Bay, I left my homemade jewelry hanger there too.
(I sold most of my things - and gave the rest to Goodwill.)

So... 
I needed to make a new holder for my necklaces!

Luckily, my dad has a LOT of old wood in his workshop.
I was on a mission to make a "rustic" necklace holder - for NOT a lot of money!!!


First...
I found a REALLY cool piece of wood - slanted on one side!
 I cleaned it using a bucket of water and 1/4 cup of bleach.
I gently wiped the front and back with a damp rag.
Then, I let the wood dry.


Second...
I needed a way to hang the necklace holder on the wall.
So, my dad used a table saw to cut an angle on another (smaller) piece of wood.


We attached it with nails.


My dad also attached another (smaller) piece of wood on the bottom.
That way, the necklace holder will hang flat on the wall.


Third...
I found these cool knobs at Hobby Lobby.
I wanted to use them to hang the necklaces on.  


My dad drilled holes into the wood - so I could screw the knobs in place. 


We evenly spaced out the holes. 


Fourth...
My dad had some white paint in the garage... 
so I decided to use a "whitewash" technique on the wood.


I mixed 1 cup of white paint with 1/2 cup of water.


I lightly wiped the paint mixture over the wood.


Then, I let it dry.


Fifth...
Time to screw in the knobs!


Since my bedroom is a tan, white, gray and yellow...
I found knobs in those same colors.


I added a POP of color with the turquoise knob. 


Sixth...
Time to hang it on the wall!
(I used two nails.)


Finally...
HANG UP THE NECKLACES!


I think it works great.
And - it looks pretty good next to my earring holder.


All in all...
 This entire project only cost me $12.
The wood was free.
The paint was free.
The only thing I paid for were the knobs at Hobby Lobby.
Luckily, I bought them on a day when they were 50% OFF.


Kudos to my dad for helping me with another project!
I love it!